Cabling Doctor offers a full range of professional services for your new or used overhead projector. Cabling Doctor can install or service your projector equipment at a single job site or serve as your one point of contact to coordinate multiple jobs at many locations. Our national projector installation coverage assures that we service your area.
Smart Board Installation Services
Projector Installations
Starting at $475

Overview of a Typical Projector Installation
Site Survey – A phone conversation with an Cabling Doctor Project Manager describing the project. If necessary, a preliminary site visit can be arranged. Please notify us if the environment is anything other than a standard drywall or drop-ceiling commercial environment.
Initial Setup – A professional install team arrives at the time scheduled and performs any preliminary work, including unpacking the projector.
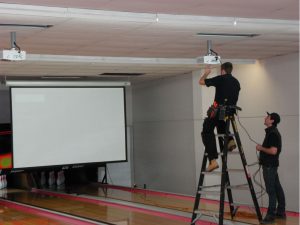
Mounting – A mount to hold the projector is installed. Typically these are wall-mount, ceiling-mount or custom solutions with either a fixed or suspended configuration.
Install Projector –The projector is then secured to the mounting hardware.
Cable Run – VGA or projector cables are then run from the projector to a wall drop box for easy access. The technician will run the cables either through the ceiling or arrange them by another site-specific solution.
Computer Connection and Setup – The technicians will connect the signal source, such as a computer, and verify proper installation.
Projector Screen Installation – Mounting and setup of either pull down or motorized screen (a power supply is required). 
Alignment & Focus – Proper alignment and focus of image on the screen.
Keystone Correction – Manual correction of the keystone effect to eliminate distortion.
Quality Assurance – At the conclusion of your install, you will be asked to sign a completion form that helps us ensure a quality installation and your complete satisfaction.
Clean Up & Waste Disposal – We take care of the mess.
Warranty – One year warranty on workmanship.
Cabling can provide supplies such as cables, mounts, and brackets at reasonable cost. Advance notice is appreciated. We carry a wide selection of applicable cables, including: VGA, component, s-video, serial, and plenum-rated cables for fire safety.
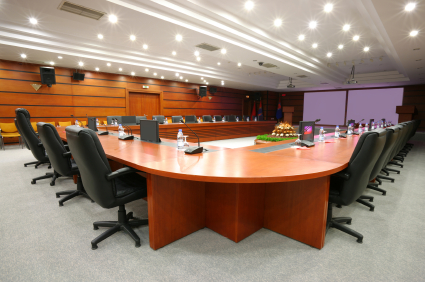
We have installed projectors in many commercial and educational environments, such as: churches, classrooms, schools, lecture halls, conference centers, night clubs, bars and restaurants, casinos, hotels, retail stores and showrooms, banks and financial institutions.
Professional contractors in our national network are:
- Fully insured
- Pre-screened
- Licensed, where applicable
Our appointments are scheduled for a specific time to better serve you. We never waste your time by providing a service window (e.g. “between 10 and 2.”) For more information please call us at 281-482-2031 or request a quote online and we will be in touch with you shortly.
